SL261x Authenticated Debug Access Control User Guide
This guide describes how to acquire an SL261x ADAC challenge through SDC-600,
generate the 16-byte permission table and signed debug token with
adac_token_tool.py, authenticate the selected debug ports, and close the
session.
1 Scope and Requirements
The procedure in this document applies to SL261x. Download OpenOCD and prepare the SL261x SDC-600 files as described in the requirements below.
Important
A requested debug port can be enabled only when its OTP JTAG_Acc_Ctrl
value is programmed to 2'b01.
Item |
Requirement |
|---|---|
Debug probe |
J-Link. Install the driver required by the selected probe. |
OpenOCD |
Download and extract the OpenOCD package for your platform from the xPack OpenOCD releases page. Copy the following files from the
Factory repository
at
|
Terminal |
Tera Term, for connecting to |
Token tool |
|
OpenSSL |
Required when the customer generates a new K1_C_ADAC EC P-521 key pair. |
Python |
Run the tool with |
2 Prepare ADAC Keys and the Token Tool
2.1 Generate the Customer K1 C ADAC Key Pair
The customer may generate their own K1_C_ADAC private and public key pair. Run
the following commands from the keys directory:
openssl ecparam -genkey -name secp521r1 -out K1_C_ADAC.EC521.priv.pem
openssl ec -in K1_C_ADAC.EC521.priv.pem -pubout > K1_C_ADAC.EC521.pub.pem
These commands create a matching secp521r1 private/public key pair. Keep
K1_C_ADAC.EC521.priv.pem confidential and do not combine it with a public
key generated from a different private key.
2.2 MP Flow Key and Identity Requirements
Important
K0_OEM.priv.pem must be the same K0 OEM private key used by the
customer’s MP flow. Do not generate a replacement K0 key for this token
build.
Input |
Required Source or Value |
|---|---|
|
Customer-generated K1_C_ADAC private key. Used to sign the ADAC challenge and permission table. |
|
Public key generated from the matching K1_C_ADAC private key. Used as
the |
|
The existing K0 OEM private key used in the MP flow. This key signs the K1_C_ADAC store image. |
Segment ID |
Must exactly match the |
Version |
Must exactly match the |
Production flag |
Set according to the target project’s MP and security configuration. |
The interactive example later in this guide shows 0 for the production
flag, Segment ID, and Version. Those values are examples only. The actual
Segment ID and Version must match the MP flow oem_segid and oem_version
values.
2.3 Token Tool Directory
Place the following files relative to adac_token_tool.py:
Path |
Purpose |
|---|---|
|
Challenge generated by ``sdc600_send_cmd02``command and will be generated in OpenOCD directory. Copy the latest challenge here before building a token. |
|
ADAC signature generation executable. |
|
Generates the K1_C_ADAC store image. |
|
Customer K1_C_ADAC private key used by the ADAC signing command. |
|
Matching customer K1_C_ADAC public key used as the |
|
The K0 OEM private key from the MP flow, used by |
On Linux, make the bundled executables executable if necessary:
chmod +x bin/adac bin/genx_img
The tool creates tmp for intermediate files and out for the final
token. The directories are created automatically when required.
3 Start OpenOCD and Acquire a Challenge
Connect a J-Link probe to the board.
Open the designated SDC-600 OpenOCD directory and start OpenOCD with the package-provided
Klamath_Jlink.batthat matches the connected probe.Verify that OpenOCD is listening for telnet connections on port 4444.
Connect the terminal client to
localhost:4444bytelnet_localhost_4444.bat. Adjust the executable path intelnet_localhost_4444.batif Tera Term is installed in a non-default location.
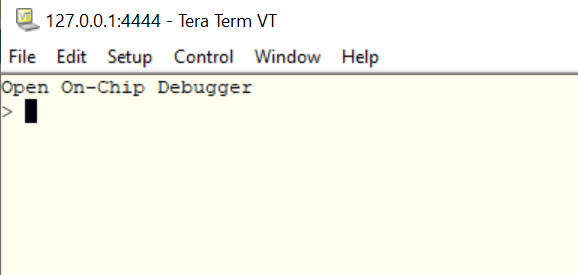
OpenOCD telnet prompt
Load the SDC-600 command script:
source sdc600.tcl
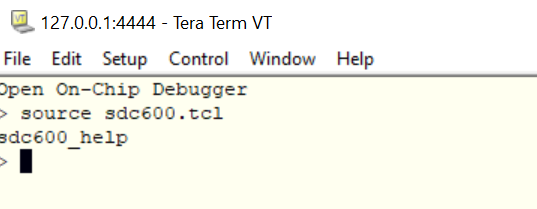
Load the SDC-600 Tcl commands
Start authentication and request a fresh challenge:
sdc600_send_cmd02
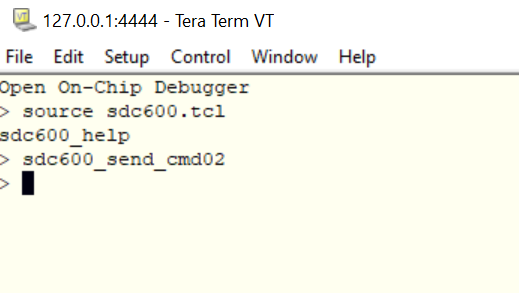
Send the authentication start command
A successful command writes the challenge file and reports
Wrote 32 bytes (from 13th byte onward) to adac_challenge.bin.
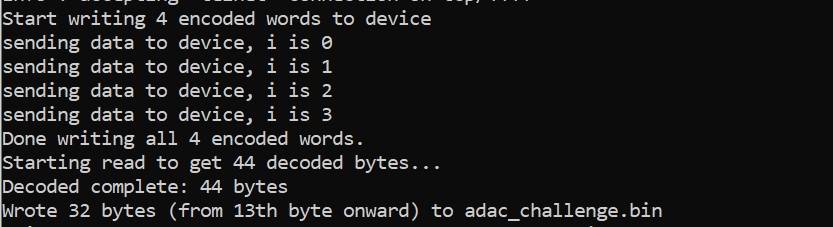
Successful challenge generation
Copy the newly generated adac_challenge.bin to the directory that contains
adac_token_tool.py. Do not reuse an old challenge from a previous
authentication session.
4 Generate the Permission Table and Debug Token
4.1 Interactive Operation
Run the tool from its root directory. Command-line parameters are not required:
python3 adac_token_tool.py
Select
SL261xfrom the platform menu.Select one or more permissions by entering their numbers or names. Entering an already selected item toggles it off. Use
allto select every item,clearto clear the selection, anddoneto continue.
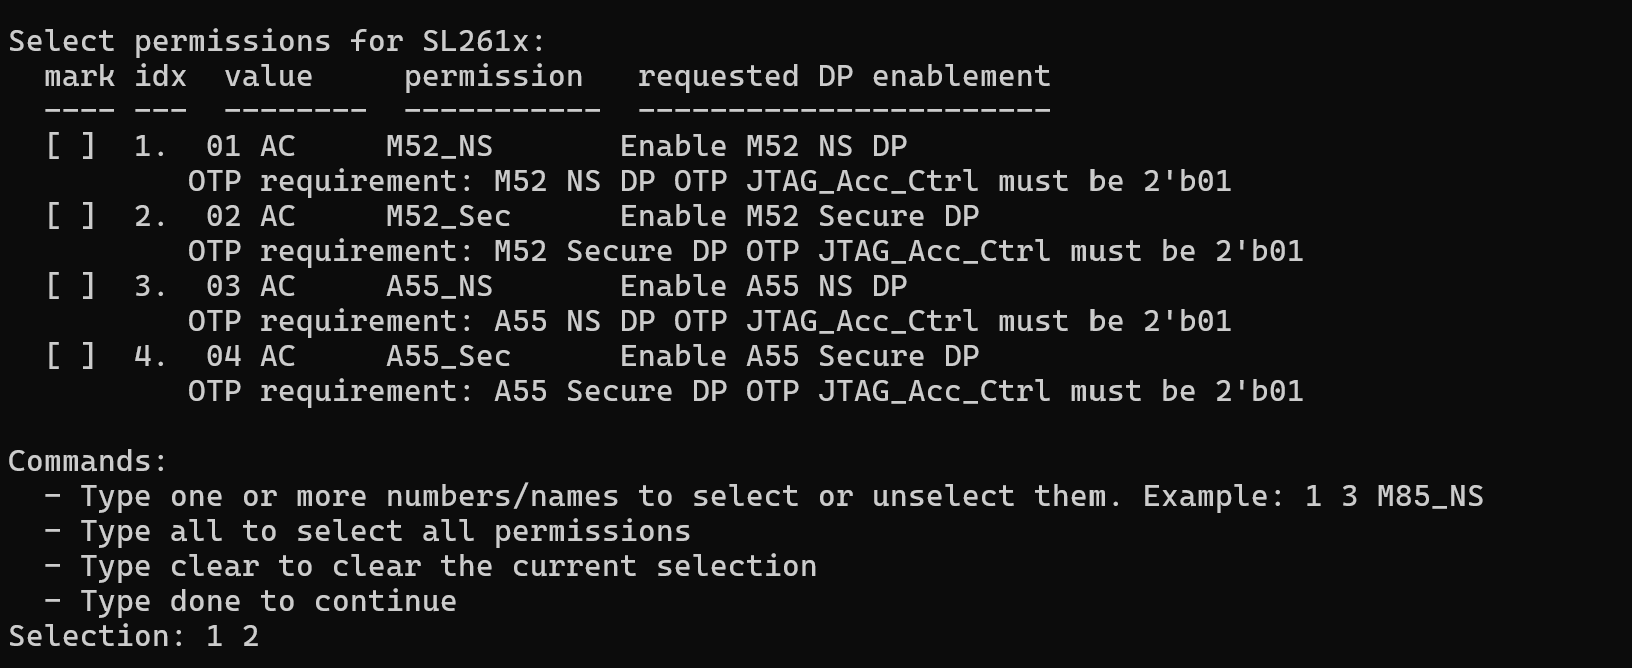
SL261x interactive permission selection
Review the selected ports and enter
yto generate the permission table.The tool automatically writes the 16-byte table to
tmp/adac_permission.bin. No manual command or pre-generated permission file is required.Enter
ywhen prompted to build the debug token.Enter the production flag requested by
genx_imgaccording to the target project’s MP and security configuration.Enter Segment ID using the same value as
oem_segidin the MP flow.Enter Version using the same value as
oem_versionin the MP flow.
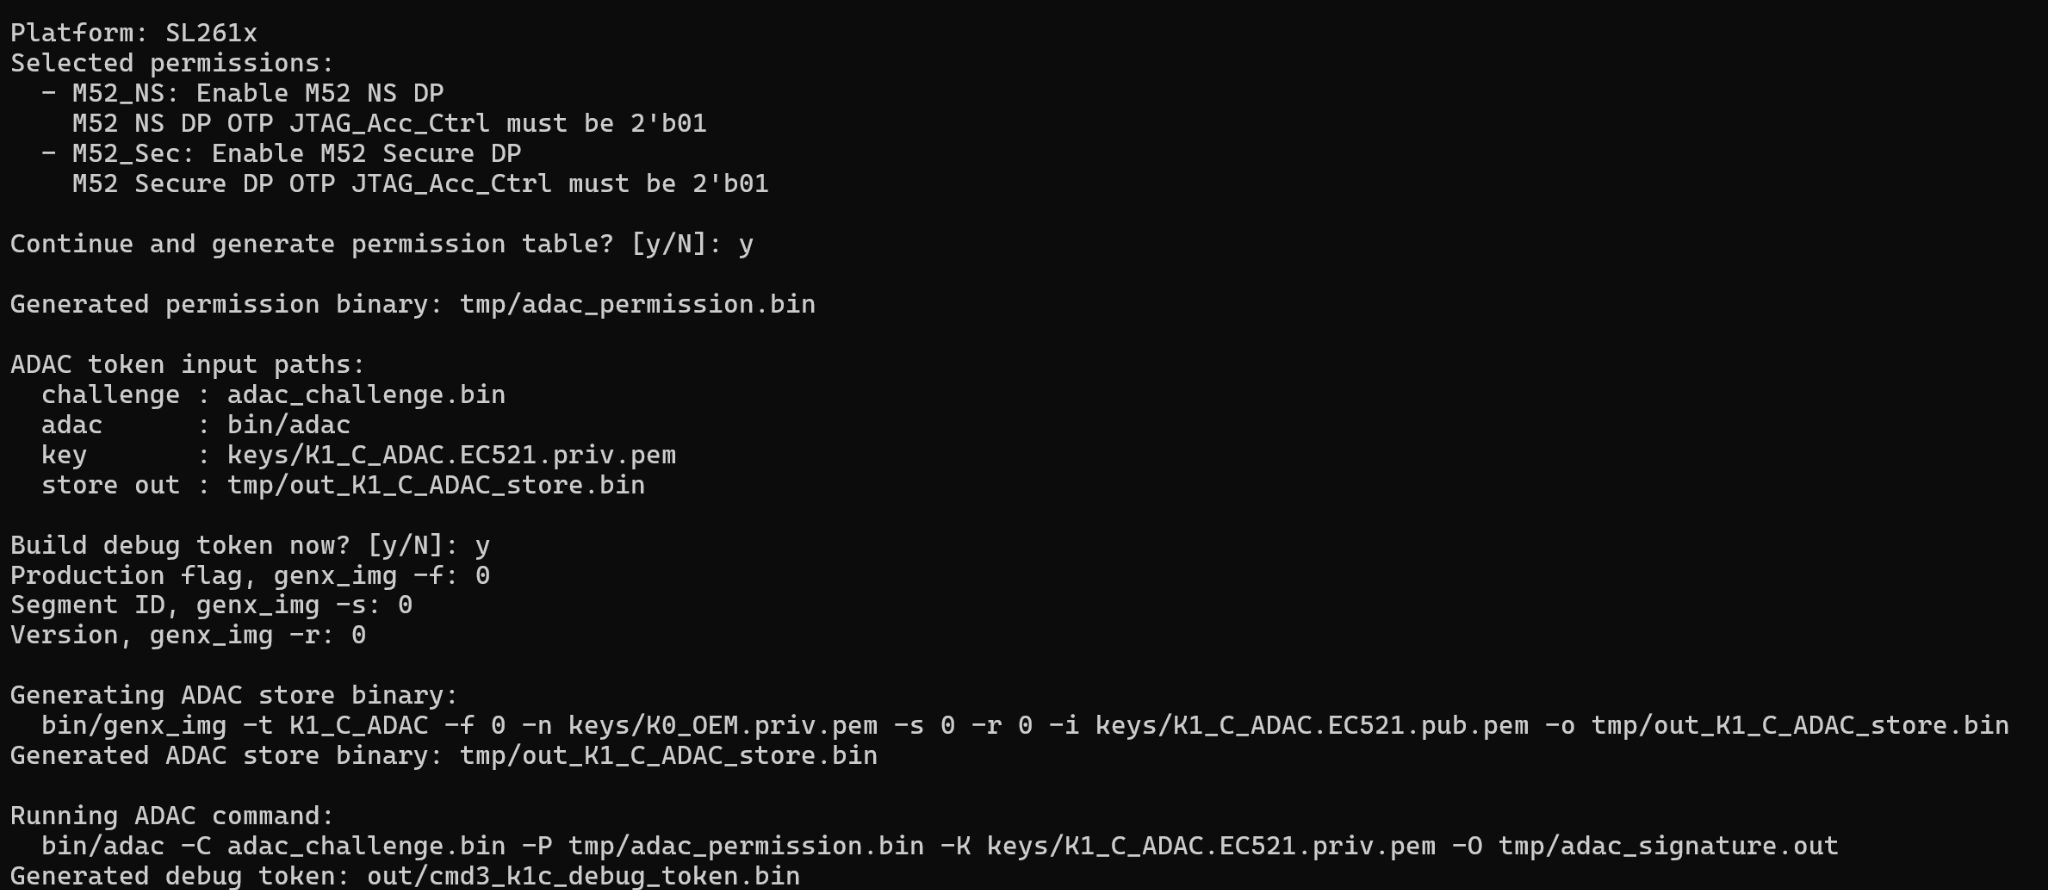
Permission generation, MP values, and debug token output
The genx_img command shown by the tool uses keys/K0_OEM.priv.pem to
sign a store containing keys/K1_C_ADAC.EC521.pub.pem. The ADAC command then
uses keys/K1_C_ADAC.EC521.priv.pem to create the token signature.
4.2 SL261x Permission Values
Byte Index |
Value |
Permission |
Requested Debug Port |
|---|---|---|---|
1:0 |
|
|
Enable M52 NS DP |
3:2 |
|
|
Enable M52 Secure DP |
5:4 |
|
|
Enable A55 NS DP |
7:6 |
|
|
Enable A55 Secure DP |
15:8 |
RFU |
NA |
Not applicable |
Each selected DP must have its corresponding OTP JTAG_Acc_Ctrl value
programmed to 2'b01. Unselected entries and RFU bytes remain zero in the
16-byte permission table. The 16-bit values are stored in little-endian order,
as shown in the interactive menu.
4.3 Generated Files
Output |
Description |
|---|---|
|
Generated 16-byte permission table. |
|
K1_C_ADAC store. This file is regenerated every time a token is built. |
|
ADAC signature output. |
|
Final token sent by |
Every token build regenerates tmp/out_K1_C_ADAC_store.bin. Confirm the MP
flow K0 key, oem_segid, and oem_version before using the generated
token.
4.4 Optional Command-Line Operation
Generate only the permission table while keeping the interactive menus:
python3 adac_token_tool.py --permission-only
Example of a non-interactive SL261x token build:
python3 adac_token_tool.py \
  --platform SL261x \
  --permissions M52_NS M52_Sec \
  --build-token \
  --store-production-flag <production_flag> \
  --store-seg-id <oem_segid> \
  --store-version <oem_version> \
  --yes
Display all supported options with:
python3 adac_token_tool.py --help
5 Authenticate the Debug Session
Copy
out/cmd3_k1c_debug_token.binto the working directory used by the designated SDC-600 OpenOCD script.In the same telnet session, send the authentication process command:
sdc600_send_cmd03
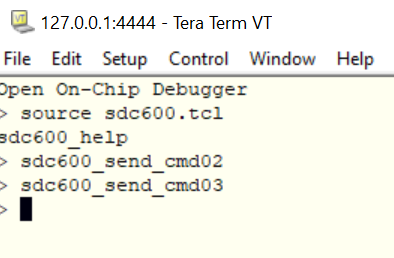
Send the authentication process command
A successful token verification reports
SUCCESS: ADAC authentication success!.
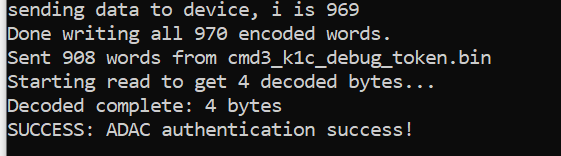
Successful ADAC authentication
6 Close the Debug Session
When debug access is no longer needed, close the authenticated session:
sdc600_send_cmd04
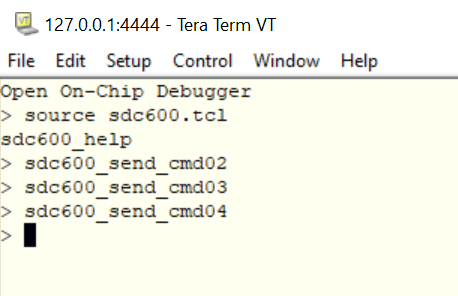
Send the close-session command
A successful close reports SUCCESS: ADAC close session success!.
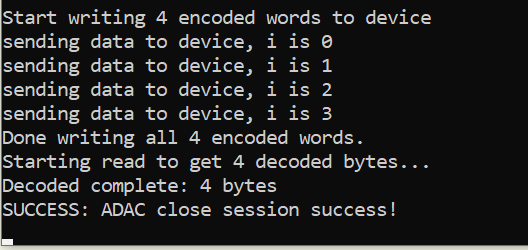
Successful ADAC session close
7 Command Sequence
Always perform the commands and token generation in this order:
source sdc600.tcl
sdc600_send_cmd02
python3 adac_token_tool.py
sdc600_send_cmd03
sdc600_send_cmd04
The token must be generated from the challenge produced by the current
cmd02 session. Changing the order or reusing an old challenge can cause
authentication to fail.
8 Troubleshooting
Symptom |
Check |
|---|---|
OpenOCD cannot connect |
Confirm the probe connection and select the J-Link launcher supplied with the designated SL261x OpenOCD package. |
|
Run |
|
Run |
The token tool reports a missing file |
Check the |
|
Use the K0 OEM private key from the MP flow and confirm Segment ID and
Version match |
|
Use the fresh challenge, verify the matched K1_C_ADAC key pair, and
confirm each requested DP has OTP |