Setting up the hardware
The Astra Machina Foundation Series of evaluation-ready kits enable easy and rapid prototyping for the Synaptics SL-Series of embedded Linux and Android processors. A modular design incorporates swappable core compute modules, a common I/O board, and daughter cards for connectivity, debug, and flexible I/O options. This page lists the simple steps to power on and boot up the system and applies to all SL-Series core modules: SL1680, SL1640, and SL1620.

Core module connections
Included in the box
The Astra Machina Foundation Series system with core module, I/O board, and daughter card for Wi-Fi/BT connectivity
A 15V @ 1.8A AC power adapter (USB Power Delivery)
A USB-C cable (USB-C plugs on both ends)
An AC plug adapter (IEC Type A receptacle/Type C plug, used only if applicable)
Booting the desktop environment
By connecting a monitor, keyboard, and mouse, you can run the desktop environment:
Connect a display monitor to the board with an HDMI cable.
Connect a USB Keyboard and/or Mouse to the board.
Optionally, plug an Ethernet cable into the board’s RJ45 port for Internet connectivity.
Connect the AC adapter to the board using USB-C cable (IMPORTANT - ensure you use the USB-C port marked PWR-IN), and plug the AC adapter to the power outlet
Note
The green LED next to PWR_IN will be lit and solid when the board is powered correctly. A flashing green LED indicates insufficient power - please use the supplied 15V @ 1.8A power adapter.
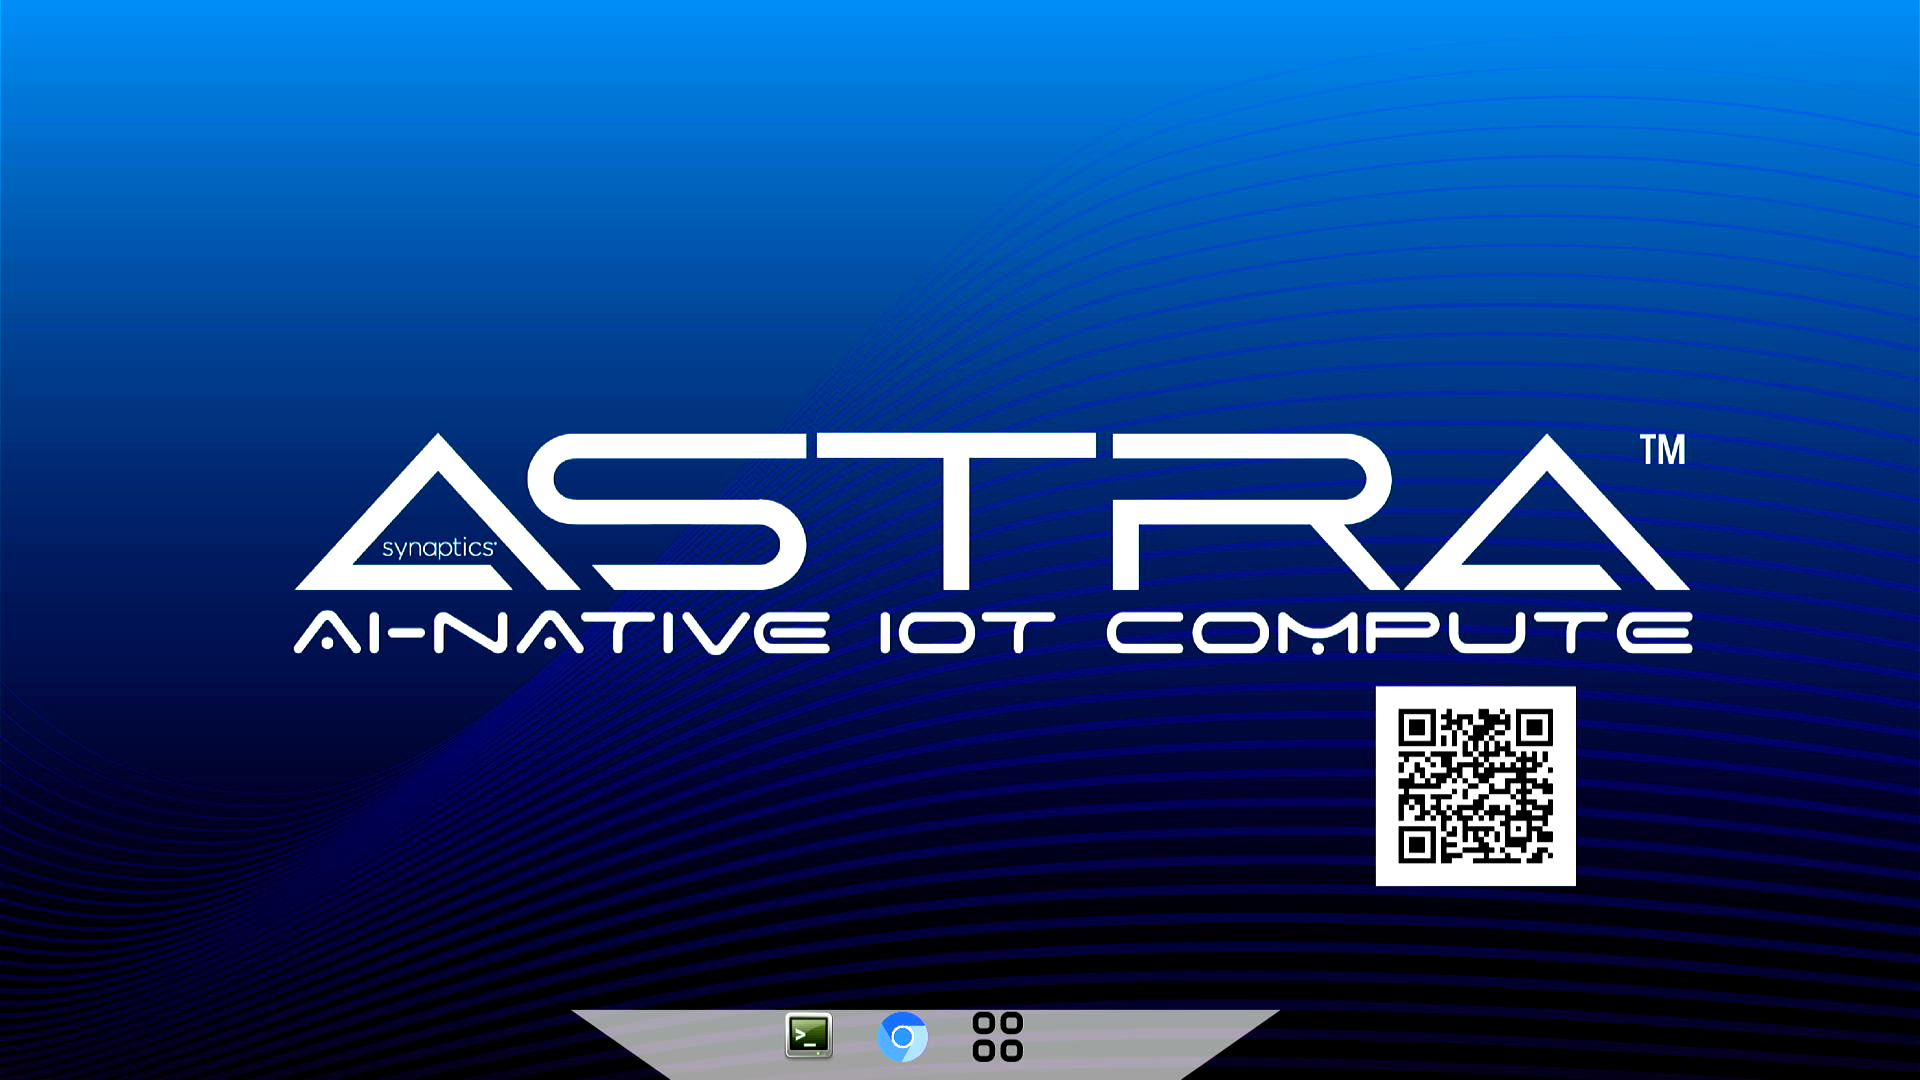
Once powered on, the Astra Machina board will boot the Yocto Linux distribution preloaded on its eMMC storage, and display the Wayland Desktop. You can now explore sample media and AI applications, open a Linux terminal from Wayland Desktop, and use the built-in Chromium browser (with Internet connectivity):

Running in headless mode
To connect to your Astra Machina Board from a development host PC via SSH:
Ensure your board is connected to Ethernet and can access the Local Area Network of the host.
Open a terminal on the Wayland Desktop and use the following command to obtain the IP address:
ifconfig eth0 | grep "inet addr"
Once you have the IP address of your Astra Machina Board , you can connect via ssh. For example:
ssh root@10.3.10.19
You can also connect to your board using ADB Shell. Follow the instructions here: The Shell with ADB
Update Firmware
It’s recommended that you update your board to the latest firmware using this guide: Updating the Firmware using USB
Additional documentation and resources
For more information on Astra SDK, Astra Machina board, and SyNAP AI Toolkit, scan the QR codes presented on the Start-up screen or the packaging box. You can find detailed information on the following:
Astra Yocto Linux User Guide for details on the board support package (BSP), image flashing and upgrades, Wireless setup, and so on.
Astra Machina Eval Platform for hardware specification, features, and interfaces.
Astra Yocto Linux Developer Guide for building SDK image from source code packages.
Support requests and more.